Box Envelope made with Martha Stewart Score Board. Front of the box envelope that holds 6 note cards and envelopes. The stamp is from a Stampers Best flower set. The envelope is 1/2 inch thick
Back of the box envelope. Washi tape and a brown button.
This is the Runaway Crafting logo designed by my daughter.
Inside card stamped with phone (see picture above).
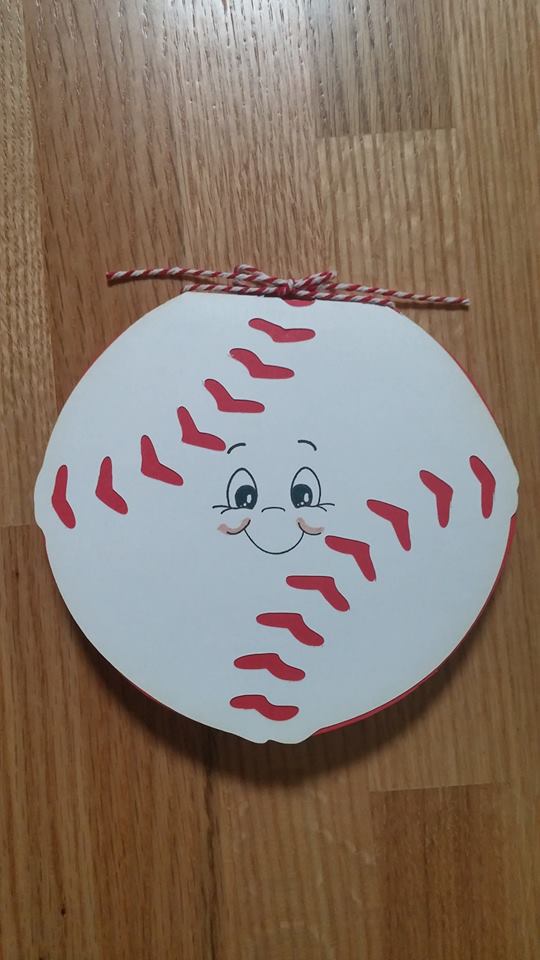
I used the baseball from Cricut Sports Mania card, melded it and sized it as large as I could on an 8 1/2 by 11 sheet of white card stock. Then I folded a red piece of paper in half, tucked it inside the folded ball card and hand cut out the inner liner. Using a glue stick, I glued the liner into the card. I used the largest Peachy keen face stamp in the full set and used a Distress Marker to highlight the cheeks. Then I stamped Happy Birthday on the inside on a white oval. The stamp is from the "Happy Days" set from CardzTV. I tied a little red and white bakers twine around the fold of the card. I used a half fold card envelope to mail it.
Thanks for stopping by my blog. Let me know if you have any questions or comments.
I melded (pictured below) the Graduation cap in Cricut Craft Room to make a folding card. I sized this card to be able to cut it as large as possible on an 8 1/2 x 11 piece of black card stock. I used a white pen and a straight edge to draw the front edge of the cap. Number stamps with white Stampin Up ink.
The second layer was the tassel which I cut out in a golden sparkle card stock.
I used "Happy Days" stamp set by Mary at Cardz TV "Happy Graduation Day" in other cards. I wrote it by hand in the picture below with a white pen. You can see how the card opens.
Jillian Vance Stamp and Die Combo (Purse)sonality Set click the link to go to her web page.
I made six variations of the card using one paper pad. A little bling and pen stitching finish off the A2 size cards finish size 5 1/2 x 4 1/4.
Here is my 2014 Christmas Card. I used 3 different Christmas papers from JoAnn's, red card stock for the card base, cut the scalloped circle in the red card stock and circle from Elegant Edges Cricut cartridge. Using the Tim Holtz edge distressing tool, I distressed 3 sides of the card. The "Santa reading his list" stamp is from LeBlanche and I used Versafine black ink to make the image. I only used a small portion of the Santa Stamp by pressing the white card stock circle onto the stamp. I used Tim Holz Distress inks and markers. I colored Santa's cheeks, nose and his list with Spun Sugar marker and inked the edges with Very Berries Distress ink coloring Santa's coat a little as well. Then I used Zig pen glue and added the Martha Steward gold glitter to the collar and cuffs of the coat. The "Merry Christmas" and inside sentiment stamps are from Stampin' Up. I used a number of different red and green ribbons on all of the almost 70 cards I put together and used the 'cheater' method of making a bow. Although you can't really see it in the photo, I put Glossy Accents (love, love this product) on Santa's glasses and the list so they stand out a little bit. I have posted a video above on how I made this card on YouTube.
Thanks for stopping by. Amy
I recently went over 500 subscribers on my YouTube Runaway Crafting Channel and to celebrate, I'm going to have a GIVEAWAY.
But in the meantime, I ordered new storage cubes for my craft room that I moved into almost 3 years ago. Here is the video from when I first moved in back in April of 2011.
Here is a new video of the room almost 3 years later:
Here is a picture one of the new storage units:
Each cube is 15x15 inches; over all it measures 30 inches high, 15 inches deep and 45 inches long. I ordered two sets of these cubes.
2013 Spider Halloween Card for my great niece and nephews.
I
used DCWV Ghosts & Goblins stack paper; Tim Holtz distress ink and
markers, sticky black vinyl and Cricut Doodlecharms to cut the spider
at 2.5 inches.
For more details on how I put this together, I put together a video you can link to below.
I put the cut sealed with a fish stamp on the back of the card and colored it with Distress Markers.
Thanks for stopping by and have a great day.
I started Beekeeping this year and here is a picture of the first jar of honey extracted from Runaway Honey Farm. Luckily, the bees knew what to do despite me being a novice.
I found this cool vintage tv/bed tray with spring loaded fold-down legs and a top that rises to five different settings. Here are some before pictures. It was a little dirty and one of the side rails was broken and had been repaired with some kind of nasty tape that I couldn't get off without a whole lot of scraping. The rose applique was not removed either--same issue. The side rail has been repaired in the picture below.
I removed the top and glued the side rail back on. I spray painted the bottom with black spray paint. I used spray paint because I didn't think I could brush on a nice finish on all the dowels and little pieces of wood.
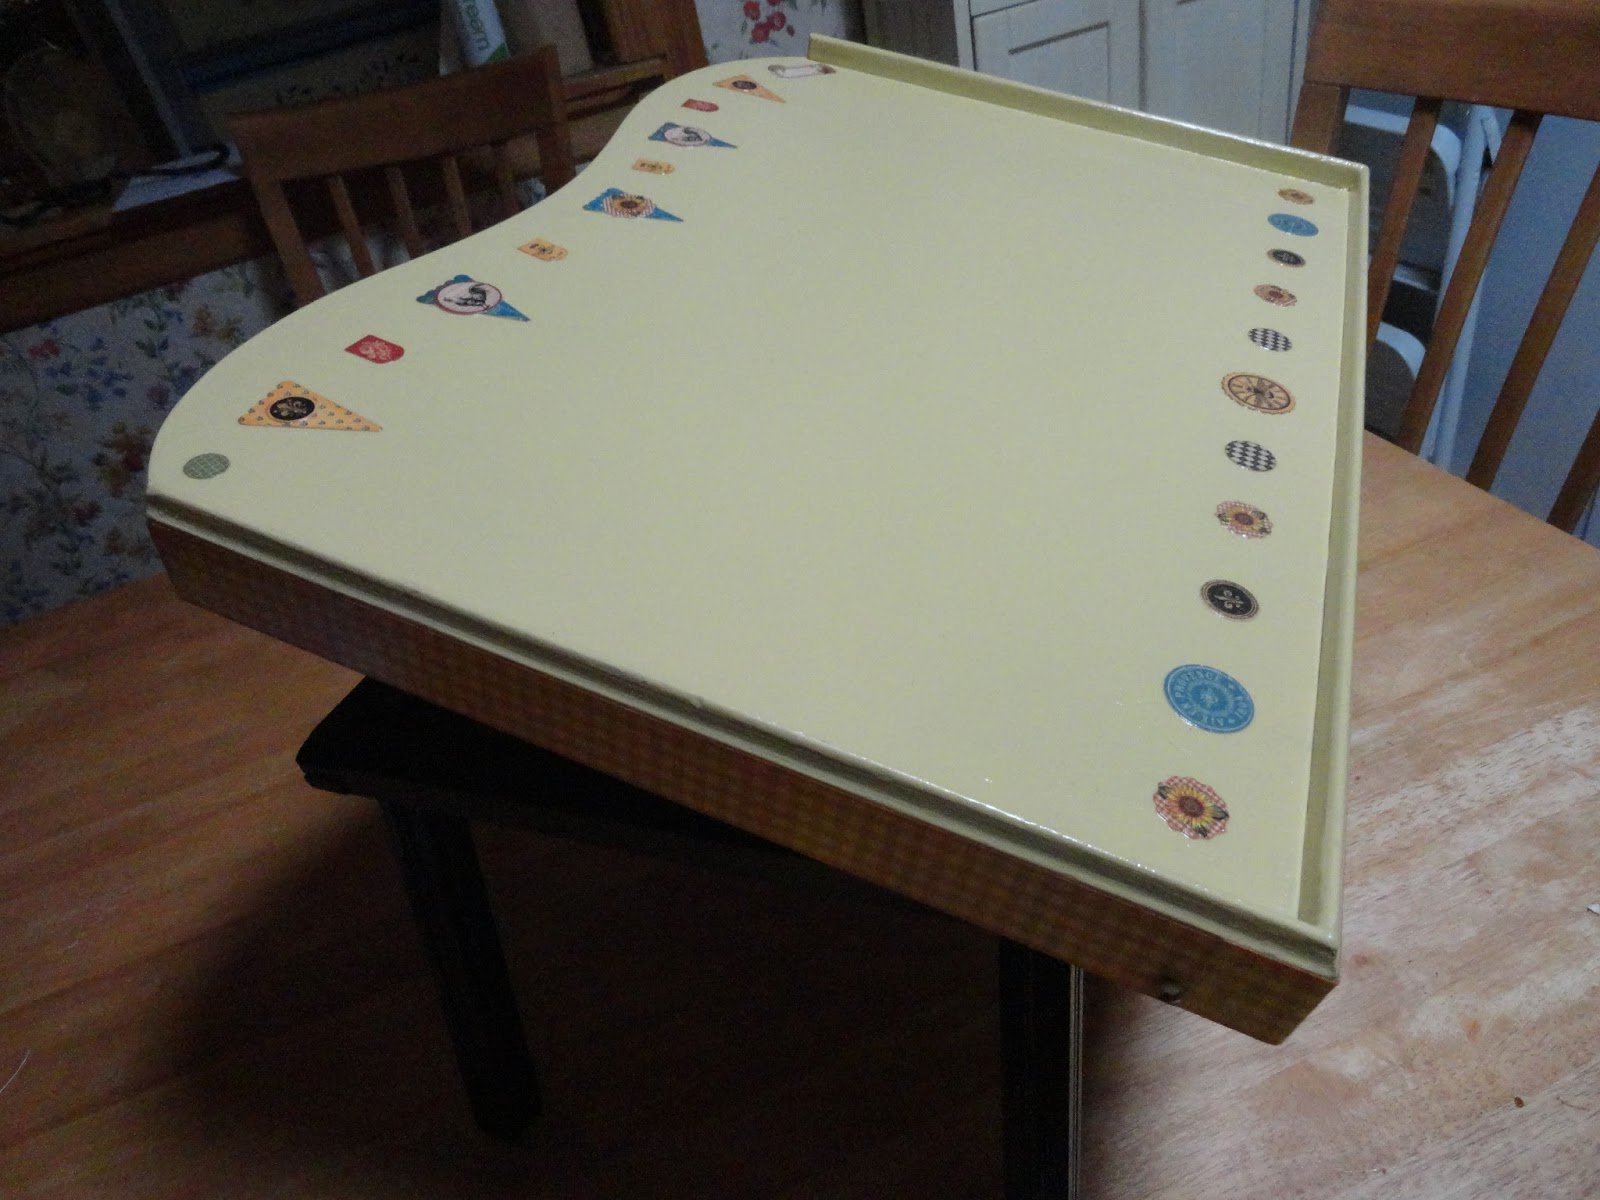
I painted the top with Martha Stewart Vanilla acrylic paint, used embellishments from the Graphic 45 French Country collection, some yellow gingham card stock on the sides to cover the ugly tape marks and to reinforce the thin side rails from breaking off again. Tea Dye Distress Ink was used on all of the paper edges. I used Mod Podge to glue on all of the paper pieces and well as putting multiple coats over the top and on the legs.
I tried a lot of different paper ideas and embellishments before I settled on the simple line at the top and bottom. I have been known to go crazy overboard and not know when to stop.
Thanks for stopping by and have a great day. Amy
Saturday, July 27, 2013
Finally, after 10 years or more, my Wax Plant (Hoya carnosa) has bloomed and has Wax Flowers.